This chapter was good because it discussed methods to alter how your cyanotype looks. I thought this would be very helpful, considering that the cyanotype process is nice and simple, but you may not always want the blues. It also offers a fun new way to experiment.
Monthly Archives: May 2012
More Beautiful Animal Photography
Link
…
Here’s a little write up about my BFA show Puncture.
http://news.wwu.edu/go/doc/1538/1453591/
Do Ho Suhhhhhhhh!
The installation is finally happening!
http://news.wwu.edu/go/doc/1538/1454451/
Week 6 Response
Aside
I like the idea of using light as a way of manipulation of that way someone looks, such as the strategies that cinematographers used with people in movies. I find it interesting that using light on a subject can greatly change the character to a viewer, and change the tone in the room. Wherever the shadows fall on a face of a subject could attract or frighten a viewer.
I have very limited experience with natural and artificial lighting, but I can say one is not easier to photograph with than the other. I like using artificial light because I can control more what I am doing, but it is still difficult to find what I am looking for in a studio environment. Natural lighting is not consistent or planned, but can be perfect at the right times. Also it is a nice way to experiment and understand what the best times of day are for photos. Harsh daylight is not always ideal, but cloudy days usually are more successful.
Made me think of Kevin….
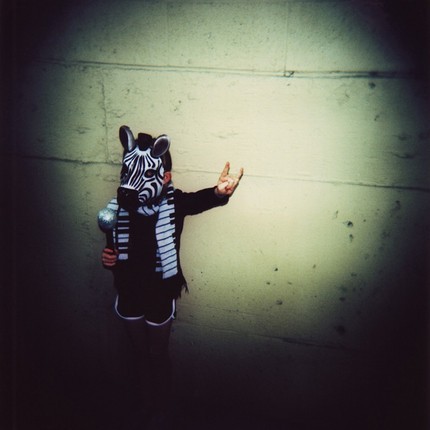
MINI ZEBRA!
Platinum Print tutorial
Useful website if you want to know more about the fine details of platinum!
I like it
Reading Response 10
Transfer prints 2; Alcohol Gel and Supersauce: This section was about transfer prints which included a complete tutorial video with the Martha Stewart of photography as our guide. The particular process we did in class was a transfer using hand sanitizer. Coating the paper with sanitizer proved to be a bit difficult and most people found themselves over coating causing the print to splotch or bleed. First step was to drop the sanitizer on the front and roll to coat. Then flip the paper over and repeat until fully coated. Place the transparency print ink side down and press with the roller under a layer of saran wrap. Let set 1 minute and peel back to see the transfer on to the paper.
Reading Response 9
Solar Prints: Never taking a print making class, I was a bit weary walking in to the solar print project. But as it continued I found that I absolutely loved it. Drew did an awesome job walking us through step by step and ensuring we all had good negatives and paper to work with. Everything he said went along with what Christopher James had said about the technique. From the aquatint screen from the hardening of the plate, everything Drew taught us was spot on with this read from the book!


