Nilsson is a photographer from the UK.
I am particularly enamored by these shots:


find him here : http://www.bertil.co.uk/
Nilsson is a photographer from the UK.
I am particularly enamored by these shots:
find him here : http://www.bertil.co.uk/
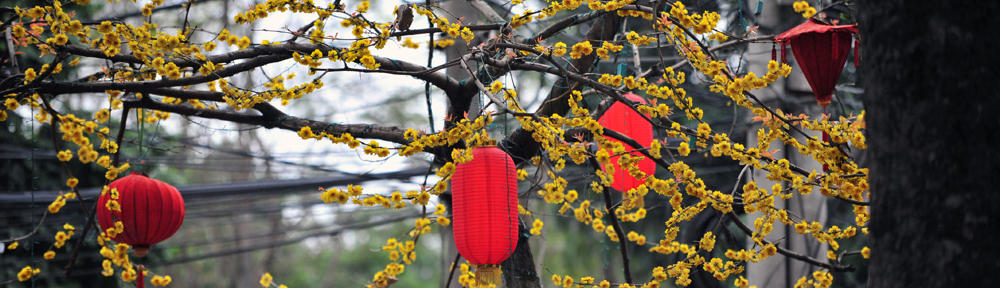
Garth mentioned John Pfahl the other day in 390. One of his pictures is up in our gallery right now. The rest of the show is pretty cool too so go see it soon.
This is the photo mentioned above (or one very similar):

Kimi Wylde is an artist who does paintings as well as photos. Check out her toilet series. Her other stuff is really interesting too
her website: www.kimiwylde.com

I’m interested to see solar plates in this book because I think of solar plates as more of a printmaking process than a photographic process. The printing part of this process is in no way photographic to me. The only part that I consider really photographic is the part where the plates are exposed to create the image. Bringing ink into the photo lab is going to be fun. Good tips as always.
Great tip to test: Fix fogging with hydrogen peroxide. A drop of hydrogen peroxide should be added to the shot glass while mixing the emulsion. He gives practical tips in this section for platinum printing. It seems like this is going to be a touchy process. So many things can go wrong. Papers need to be thick enough to soak up the platinum/palladium mix. As usual it seems like better papers make better prints.
It is interesting that platinum and palladium print papers were being made in the 1900s. It seems like it would be completely unaffordable but I guess not. When people can own fewer things I guess they are willing to pay more for what they get. This type of printing does seem to make cyanotypes seem crafty. It must be the price difference and the difference in print detail. Something to remember is that exposure should be 3-7 minutes in summer. I don’t really know what to say about this chapter. I can’t wait to start printing I guess.
This section was more information about cyanotypes. I will have to try making cyanotypes at the beach this summer. It’s interesting that it doesn’t do anything bad to the ocean. One thing I really appreciate about James is that he mentions and brings attention to chemicals and materials that are toxic and warns us about them.
The reading for this section was a comprehensive list of different types and effects that you can get from toning cyanotypes. I love the process of toning but hate the really really “alternative process” look that they end up having. I would love to figure out a way to make cyanotypes and tone them to a black or brown. I guess I prefer an image to be about the image and not about the whimsical look of the print.
It is interesting to see that words like “snapshot” and “photograph” as well as “positive” and “negative” go as far back as Sir James Herschel. A really good tip I picked up in this reading is to use a split exposure to increase shadow detail. Apparently the way to do that is to pull the print out at halfway exposure time and to leave it in low light for five to ten minutes. Then finish the rest of the exposure time in the light box or sun.
This reading started with a discussion and explanation on paper negatives and their uses. He then started going into such incredible detail about different ways to manipulate film during developing that I got a little lost. I probably would look up stuff in this section but not necessarily read through it again. I am excited to try paper negatives though. Negatives can be printed on paper than oiled to give you lots of control while printing.